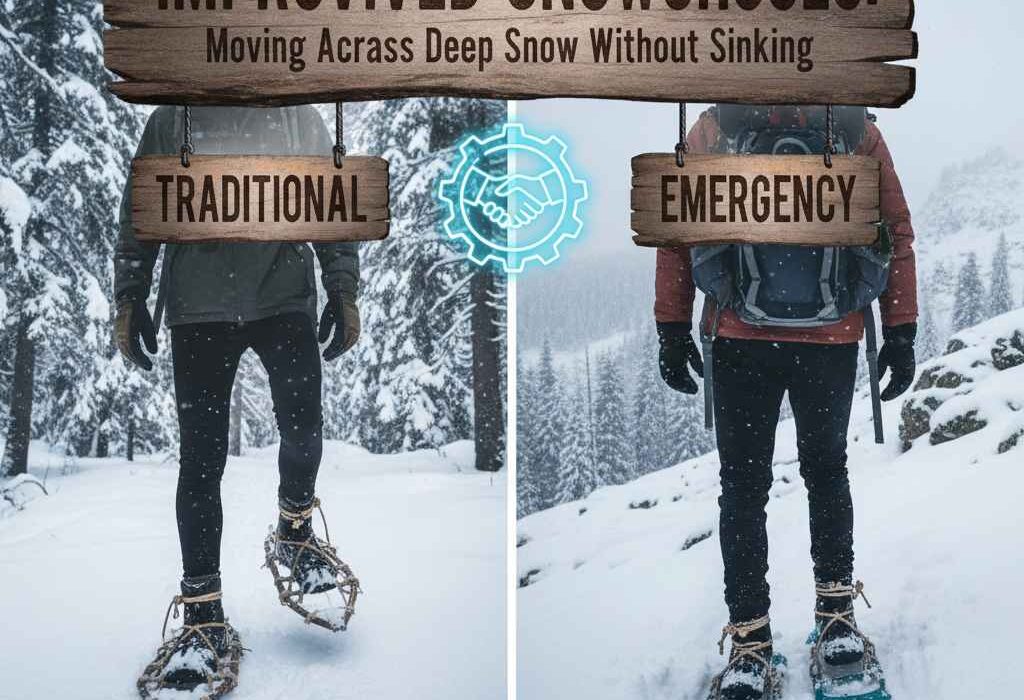
Getting caught in deep, untracked snow without proper gear can quickly turn a manageable trek into an exhausting, and potentially dangerous, ordeal. “Post-holing”—sinking deep into the snow with every step—is a massive drain on energy and a surefire way to slow you down. While commercial snowshoes are a marvel of engineering, understanding how to craft an improvised version from materials you find in the wild is a crucial survival skill. The goal isn’t perfection; it’s to distribute your weight over a larger surface area, allowing you to stay on top of the snow instead of sinking into it.
The Science Behind the Snowshoe
A snowshoe works on the simple principle of physics: pressure = force/area. By increasing your surface area (the denominator in the equation), you dramatically reduce the pressure you exert on the snow. This is the difference between an ice skate and a snowshoe. An ice skate concentrates your weight on a tiny blade, while a snowshoe spreads it out, allowing you to “float” on top of the snow’s surface. Your improvised snowshoe will do the same thing.
Materials & Methods: The “Tree Branch” Snowshoe
The most common and effective material for an improvised snowshoe is a flexible tree branch, ideally from a conifer like pine or spruce. Look for branches that are green and pliable, not dead and brittle.
- Find Your Branches: Look for two long, flexible branches. They should be at least 3-4 feet long, with a thickness of about 1-2 inches. You’ll need four of these in total.
- Form the Frame: Bend each branch into a teardrop or oval shape. You’ll want the back to be slightly wider than the front. A good size for the finished frame is about 2.5 times the length of your boot. You’ll need to lash the branches together at the front to form a point.
- Create the Webbing (The Crucial Step): The webbing is what actually distributes your weight.
- Find a number of smaller, green branches or use pine boughs.
- Lash these smaller branches across the frame, creating a criss-cross or lattice pattern. Use cordage (if you have it), or strips of inner bark from a flexible tree to secure the webbing. The denser the webbing, the better the weight distribution.
- Ensure there’s a strong central section where your foot will rest. This section must be able to support your full weight without breaking.
- Lash to Your Feet: You’ll need a way to secure the snowshoe to your boots.
- Create a “toe-hole” by lashing two of the webbing branches together just behind where the balls of your feet will sit. This is the pivot point.
- Use cordage, vine, or strips of inner bark to create a binding. You want a loop for your toe, and a strong strap to secure your heel so the snowshoe pivots with each step.
The “Log & Cordage” Snowshoe
If you don’t have suitable branches, you can create a simplified version with a small log or plank.
- Find Your “Planks”: Find two pieces of deadfall or split a log to create two flat planks. They should be roughly the same length as your foot.
- Drill & Lace: If you have a knife, you can cut small holes into the planks. You’ll then lace cordage through the holes to create a binding.
- Bind to Your Feet: Lash a loop for your toe and a secure strap for your heel. While this version is more prone to sinking and doesn’t pivot as well, it will still provide a significant advantage over walking without anything at all.
Remember, an improvised snowshoe is a temporary solution for a survival scenario. It won’t be as efficient or comfortable as a store-bought pair, but it will be the difference between moving forward and being stuck. By understanding the core principles and using a bit of ingenuity, you can safely navigate deep snow and keep yourself moving toward safety.